Your 240Hz Monitor Is Lying to You — Here's What Pro Teams Actually Configure Before a Match
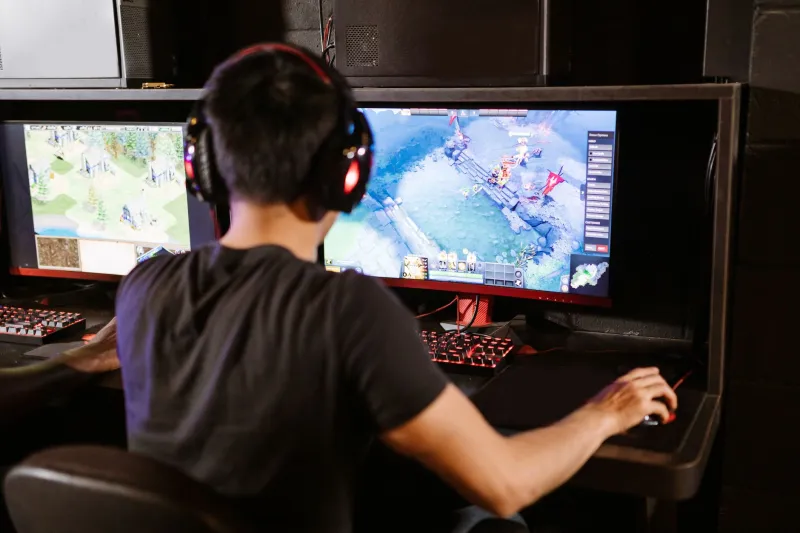
Let's be real for a second. You saved up, did the research, maybe watched a dozen YouTube videos, and finally pulled the trigger on a 240Hz IPS panel. It showed up, you plugged it in, cranked the refresh rate in Windows, and figured you were done. You're not. Not even close.
The dirty secret that monitor manufacturers won't put on the box — and that most content creators gloss over — is that a high-refresh display running on default settings is leaving a significant chunk of its performance on the table. Pro teams know this. Their hardware managers know this. And now, you're going to know it too.
Refresh Rate Is a Ceiling, Not a Guarantee
Here's the first myth to kill: 240Hz doesn't mean you're seeing 240 frames of clean, distinct visual information every second. It means your monitor can display up to 240 unique frames per second — provided your GPU is outputting them, your cable supports the bandwidth, and your settings aren't quietly throttling the experience.
A ton of players run DisplayPort 1.2 cables on panels that need DisplayPort 1.4 to hit full refresh at full resolution. Others leave their Windows display settings at 60Hz after installing a new driver update that reset everything. Check your actual refresh rate right now. Go to Display Settings > Advanced Display. If it doesn't say 240Hz, nothing else in this article matters yet.
Once you've confirmed that, the real work starts.
Response Time Settings: The Overdrive Trap
Every modern gaming monitor ships with some version of overdrive — marketed as "Extreme," "Fastest," "Ultra," or whatever branding the manufacturer chose. The idea is simple: push more voltage through the pixels to make them transition colors faster, reducing motion blur.
The problem is that cranking overdrive to maximum almost always introduces pixel overshoot, also called inverse ghosting. Instead of a clean image, you get a bright halo trailing behind fast-moving objects. In a game like CS2 or Valorant, that halo appears around enemy models. You're not seeing ghosts — you're seeing your monitor lying to you about where a target actually is.
Pro setups typically land on the second-highest overdrive setting, not the max. The sweet spot eliminates most ghosting without introducing overshoot artifacts. Test this yourself: run a UFO Motion Test at blurbusters.com and compare settings side by side. You'll see the difference immediately.
Color Calibration Isn't Just for Graphic Designers
This one gets dismissed constantly in gaming communities, and it's a mistake. Color accuracy directly affects target acquisition. Enemy models in most competitive shooters are designed to contrast against environmental backgrounds — but only if your monitor is rendering those colors correctly.
Default monitor profiles are typically boosted for retail appeal: punchy saturation, blown-out brightness, colors that pop on a showroom floor. That's terrible for competitive play. Overblown colors reduce the contrast difference between a player model and a wall texture, making targets visually harder to pick out in peripheral vision.
Pro teams either use hardware colorimeters to generate ICC profiles or work with their monitor's built-in settings to dial in a more neutral, accurate picture. A few practical starting points:
- Brightness: Most pros run between 150–200 nits in a controlled environment, not the 300+ nit default.
- Color temperature: 6500K (sRGB standard) is more accurate than the warm or cool presets.
- Gamma: 2.2 is the standard. If your monitor has a gamma slider, put it there and leave it.
- Saturation/Vivid modes: Turn them off. Every single one.
Black Equalizer and Shadow Detail Features
Almost every gaming monitor now ships with some form of "Black Equalizer" or "Shadow Boost" — a setting that artificially lifts the dark areas of the image so you can see into shadowed corners more easily.
This is one of the few monitor features that actually has legitimate competitive value, and it's wildly underused by casual players. Bumping this setting up two or three notches can make the difference between spotting an enemy holding an angle in a dark corner and walking straight into a headshot.
That said, going too high washes out the image and makes it look flat, which ironically makes targets harder to read at range. Experiment in a custom server with a friend holding dark angles and find the threshold where you gain information without sacrificing contrast.
G-Sync, FreeSync, and Why Most Pros Turn It Off
Variable refresh rate technology sounds great on paper — your monitor syncs its refresh rate to your GPU output, eliminating screen tearing. In practice, it introduces a small but measurable amount of input latency, and it can cause frame timing inconsistencies that feel subtly wrong during fast gameplay.
A huge number of pro players disable G-Sync and FreeSync entirely, cap their framerate just below their monitor's refresh rate using RTSS or in-game limiters, and run with tearing artifacts rather than accept the latency hit. It's a trade-off, and it's not for everyone — but it's worth knowing the choice exists and understanding why it's being made.
The Setup Checklist You Should Actually Run
Before your next ranked session, run through this:
- Confirm refresh rate in Windows Advanced Display settings
- Verify DisplayPort or HDMI version matches your panel's requirements
- Set overdrive to the second-highest option and test for overshoot
- Disable all vivid/saturation/dynamic contrast modes
- Set brightness to 150–200 nits, gamma to 2.2, color temp to 6500K
- Experiment with Black Equalizer in a custom lobby
- Decide on VRR — test with it on and off and feel the difference
Your monitor hardware is just the starting point. The configuration is where you actually earn your frames. Now go set it up properly.